Manual to how to register your vehicle in eToll payment system
This is a very detailed manual for those who are planning to visit Poland with a vehicle with a total weight equal or higher than 3,5t.
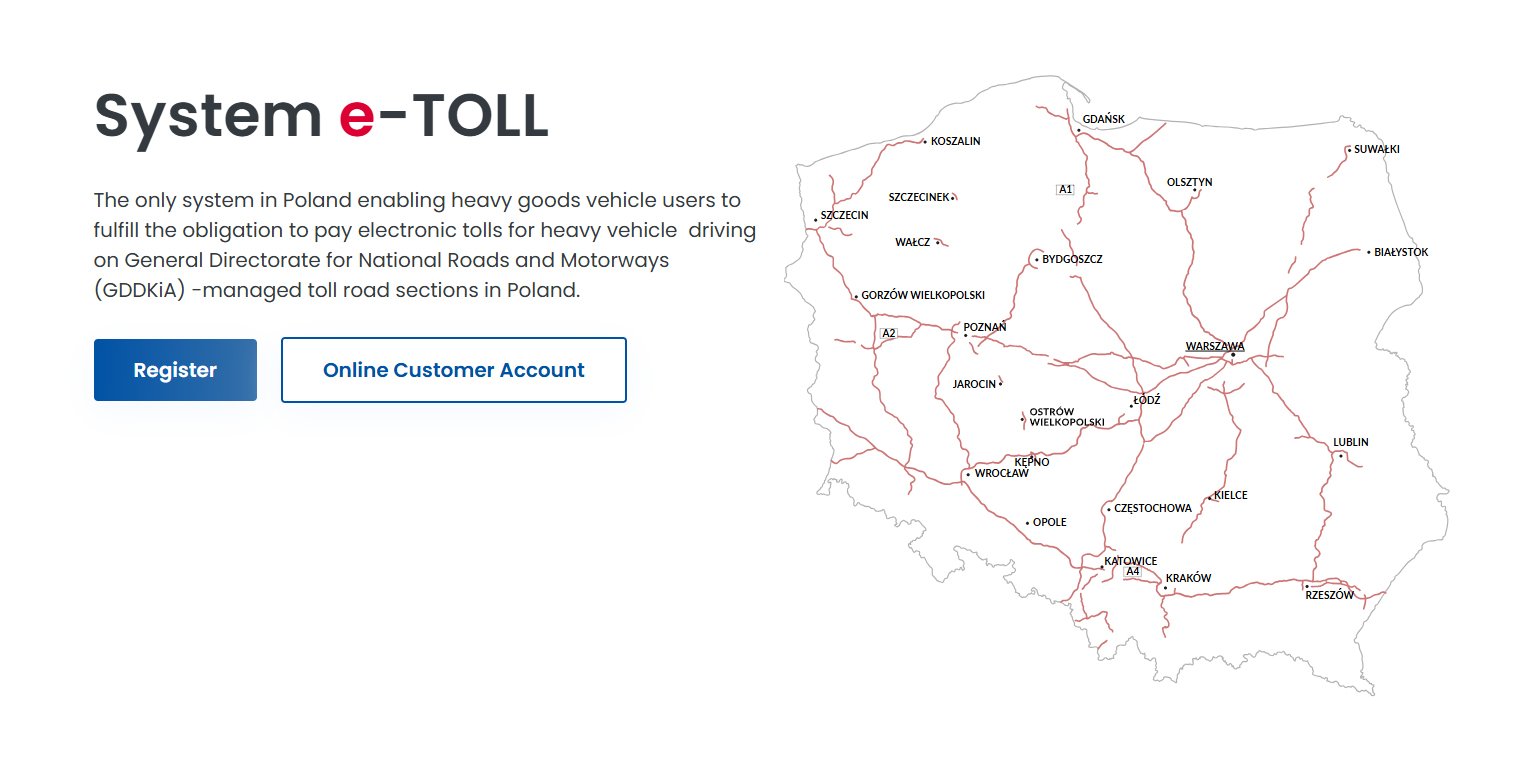
To have a good understanding of on which roads you are obligated to pay for tolls you can visit: https://etoll.gov.pl/en/toll-road-network/ and choose “Show tolled roads”.
All the roads marked in red color on the map are the ones you have to pay tolls.
All other roads are free of charge!!
e-TOLL helpline: +48 22 24 33 777
To register to eToll follow the steps below.
2
In the right top of the page, from the drop down choose language: EN - English.

3
In the right top of the page click on “Sign in to OCA” icon

4
On the new page in the second module under “Login and password” choose Select

5
Under Login and password, all the way down locate and click on “Sign up”

6
Enter your details with all the required information. When you are ready click on “Next”

7
You will receive a welcome email to your e-mail address from eToll including 6 digits code.


8
Verify your code on the website and create a password to your eToll account.
ATTENTION! Save your Password!
9
After Logging in to the system you are going to see the screen with your Name and Surname.
Click “Next”

10
On the next page, please mark the terms and conditions of the usage of the service, please click “Approved”

11
On the next page, please choose the option that is relevant for you. As a private person, please choose “I register as a private person”.
Unless you are registering as a company.

12
On the next site, please submit your personal information and Contact details, submit with clicking on “Next”

13
On the next page “Consents” the agreement for receiving the information from eToll service, and choose “Approved”

14
Your account has successfully been created.
In the next step, please click on “Go to subject list”.

15
On the “List of parties” page, click on your NAME and SURNAME

16
On the new page you will be able to see the summary of all the customer details.


17
On the right-hand side of the page in the menu, please choose “Billing accounts”, next “Create billing account” on the bottom of the page.


18
In this step, please type the name of the account, for example Etoll account (as in this example). You can choose “address for note” (meaning summary of your travel history and charges on the paper sent to your home address). Fill in the rest of the information, or choose “Same as business / personal” and submit all information by clicking “Create account”.
When creating a billing account, you can choose to have a specification of your tour history and charges sent home to a home address. If you wish so, choose “I want to receive paper debit notes”.

19
Confirmation of a success account creation process.
Next, choose "Close"

20
In the next step, go back to the menu on the left-hand side of the page, under your name and surname, please choose from the menu “Vehicles”.

21
All the way down on the new “Vehicles” page, please click on the “Create vehicle” button.
22
The next six steps of the registration process pertain to the vehicle you will be driving on Polish roads.
a. Step 1 of 6
1. From the drop-down list choose the name of the previously created "billing account"-name (in this example Etoll account)
2. Choose "Next Step"

b. Step 2 of 6
1. Select the country of the current vehicle registration
2. Type in the registration number of the vehicle
3. Choose "Next step"

c. Step 3 of 6
1. Type in the make and the model of the vehicle (optional) and choose the current country of the registration of the vehicle. (obligatory)
2. You also must scan in or take a photo of the registration certificate.
This picture of the registration certificate must be legible and have a visible information on the information provided in the fields on the website.
3. Attach the scanned in certification of the registration using +Add file
(Please notice, that eToll staff validates the data submitted on the website with the scanned in certificate manually after submitting the information in this process).
4. click “Next”

d. Step 4 of 6
Choose the correct alternatives and complete the missing information.
Fields:
Maximum permissible vehicle weight and Maximum permissible combination weight are required and the meaning of the combination weigh is in case you have a trailer.
In case you have a trailer, you must type even information about: Maximum permissible trailer with brake weight as well as Maximum permissible trailer w/o brake weight.
When completed, please click on “Next step” button to submit.

e. Step 5 of 6
In this step you should choose the exhaust emission class.
If the previously attached registration scan had the exhausted emission class visible you don’t need to attach any extra documents, and choose “Registration (attached in previous step)” alternative.
Otherwise, you must attach an additional scan of the part of the documentation of the vehicle confirming the emission class.
Choose "Next step"

f. Step 6 of 6
In this step you can see the summary of all the submitted information.
At the bottom of this screen, please choose "Create vehicle" to confirm the submitted data.
If you wish to correct any data before, please click on the edit button by the category of the summary.


23
After submitting all the data from previous steps, you will see the screen with a summary of data of your vehicle.
Now you can choose "Assign OBE to vehicle" - the blue button on the bottom of the page.
24
On the new page OBE assigning, please choose the blue text “Create OBE”.
* You can also find OBE in the main menu to the left. And select “Create OBE” in the next step.


25
On the new screen you will see the OBE creation panel. To be able to provide the Business identifier you must download a e-TOLL PL application from the App store or Play store to your mobile device (iPhone, Samsung etc)
26
Once the application is downloaded, and you have confirmed all the terms and conditions on the screen of your phone you will see the Business ID on the bottom of the application page.
The code starts with M23-………-… .
Please, enter the Business ID code from the mobile to the webpage of the OBE creation screen under the Business identifier. Once the number is typed, please submit by clicking “Create OBE”.
At that point you should receive an information about successful creation of the new OBE device.

27
On the same page please choose “Assign OBE to vehicle”

In case you receive an alert: “The vehicle must be active in the system!”, it means that the previously submitted information about your vehicle has not yet been manually confirmed by the e-TOLL personal. It may take a while for status to change.
To see the status, please choose from the menu “Vehicles” and scroll down on the page so you can see the registration number of the vehicle as well as the status. Changing the status from “Not enabled” to enabled should normally not take too much time.

IF you don’t get the error message, continue to next step (29). OTHERWISE go to step 30!
In case you have received an alert: “The vehicle must be active in the system!”, it means that the previously submitted information about your vehicle has not yet been manually confirmed by the e-TOLL personal. It may take a while for status to change.
To see the status, please choose from the menu “Vehicles” and scroll down on the page so you can see the registration number of the vehicle as well as the status. Changing the status from “Not enabled” to enabled should normally not take too much time.
28
In the new screen assign OBE to your vehicle. Choose your vehicle from dropdown. Select the registration number and then click on “Assign OBE”

29
In the meantime, you may top-up your e-TOLL account with some money.
1. Go to Billing accounts, and in the table on the page
2. choose the blue text “Create financing”.
3. Continue following the steps a - e on the screen.
a. On the new screen - Financing creation – you can choose Prepayment, and make a transaction using your debit or credit-card.

b. From the drop-down Choose the name of previously created "Billing account"
When selected click on "Next step"

c. Write how much money would you like to top-up your eTOLL account with.
The lowest amount to top up with is 20 PLN.

d. In the next step choose "Pay for financing"

e. Choose the payment method and pay for the service.

30
If the status is changed to “enabled” you may get back to “OBE” from the main menu and create OBE as instructed in point 25.
Otherwise, you have to wait for the status to be changed.

31
If you have submitted the Business ID from your application to OBE panel and completed the submitting successfully, now you should be able to freely have control over your account.

32
When you are in OBE, (choose from the main menu), choose in the table a blue text “Assign OBE to vehicle”, and on the new screen, choose from the drop down the registration number of your vehicle. Once chosen, click on “Assign”.
Reviewing the account!
To check if all the submitted details of the registration process are correct, first choose again “Billing account” and check the status in the table, the account status must be changed to “Assigned”.
Next, choose “Vehicles“ in the menu to the left. The status in the table, next to the registration plate must be changed to “enabled”, likewise go to OBE category in the menu, the “OBE status” must be “enabled”.
When all the statuses are green and your application in the phone is installed, you are good to go.
When you enter Poland!
While in Poland, you must start the e-TOLL PL application in your phone so GPS can locate your position and so the application can work.
The e-Toll service will automatically deduct the money you pay for the toll in Poland. Make sure to have enough money on your etoll account.

IN CASE your phone gets broken or any other convenience not dependent of you where the ride is not registered, you can submit the ride manually by choosing in the menu “Register your ride”
There you can play around to choose emission class of your vehicle and weight class as well as find the waypoints (you can choose several), as well as route type. The calculator will give you the exact amount in PLN for the tolls.
This tool can give you a good understanding of how much money you should have on your prepayed account on eTOLL profile.
If you encounter any problems with registration, please contact e-TOLL helpline: +48 22 24 33 777
")

")
")
")
")
")
")
")
")


